I bought my first safety razor after getting tired of paying for plastic cartridge refills that seemed to cost more every year. I also assumed shaving with a safety razor required a leather apron, a badger brush, and the patience of a 19th-century barber. It does not. A safety razor is simply a metal handle with a replaceable, double-edged blade. The learning curve is real, but it is manageable. Real talk, from the sink.
What a safety razor actually is
A safety razor has three basic parts: a handle, a head, and a thin metal blade held between the head plates. Unlike a cartridge razor, where several blades sit inside a plastic frame, a safety razor exposes one cutting edge at a controlled angle. You make the angle and pressure decisions instead of letting a flexible cartridge do everything.
That sounds more complicated than it feels. Think of it like driving a manual transmission after years with an automatic. The first few minutes require attention, but the controls make sense quickly. The main rule is pressure: use almost none. The weight of the razor should do most of the work.
Most beginner models are called closed-comb razors. They have a smooth safety bar and are generally more forgiving than open-comb designs, which expose more of the blade and are often chosen by experienced shavers with heavier stubble. A closed-comb safety razor is the sensible starting point for most men.
You will also see terms such as mild and aggressive. A mild razor has less blade exposure and is usually easier on sensitive skin. An aggressive model can remove thick growth efficiently but punishes sloppy technique. Beginners usually have a better first month with a mild or medium option.

The setup I would buy first
My first setup was more expensive than it needed to be because I bought three kinds of shaving soap, a brush, and a stand before I knew whether I even liked the process. Procurement-manager lesson: do not buy the warehouse before testing the product.
Start with a straightforward safety razor from a known maker such as King C. Gillette, Merkur, Edwin Jagger, or Rockwell. The King C. Gillette is easy to find at major retailers and gives beginners a low-risk entry point. Merkur 34C is a long-standing choice with a compact handle and mild feel. Rockwell models offer adjustable settings, which can be useful later but are not necessary on day one.
Add a pack of assorted blades rather than ordering 200 of one type. Feather, Astra, Personna, and Derby blades can all feel different because blade sharpness, coating, and your beard texture interact. A sampler lets you find the combination that works for your face.
You do not need special shaving soap. A basic cream from Cremo or Taylor of Old Bond Street, or a decent drugstore shave gel, is enough. Use a clean towel and warm water. Your initial budget can stay around $35 to $60, including the razor, blades, and cream.
How to shave without chewing up your face
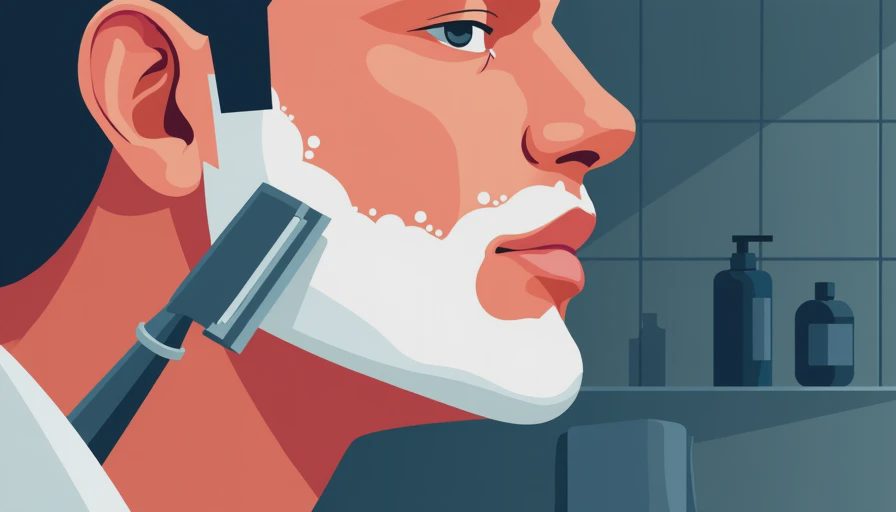
Shave after a shower or hold a warm, wet washcloth against your beard for a minute. Apply enough cream to create a slick layer, but do not chase a mountain of foam. With a safety razor, place the head against your skin at roughly a thirty-degree angle and use short strokes of about an inch. Do not press down.
Start with the grain, meaning the direction your facial hair naturally grows. On the cheeks, that often means downward. The neck is less predictable, so run your fingertips over it and learn the pattern. Rinse the razor after a few strokes instead of trying to clear a whole cheek at once.
For the first several shaves, stop after one pass if your skin feels comfortable but not perfect. A second pass across or against the grain can improve smoothness, but it also increases irritation. I learned this after trying to get a baby-smooth finish before a Monday meeting and spending the morning looking like I had lost a disagreement with sandpaper.
Small nicks are normal while learning, but repeated burning, bumps, or bleeding usually means too much pressure, a poor angle, dull equipment, or insufficient lubrication. Change one variable at a time. That is less exciting than buying another gadget, but it works.
Is a safety razor better for sensitive skin?
It can be, but it is not automatically gentle. Many men find that one blade creates less tugging than a multi-blade cartridge, especially when shaving every few days. Fewer blades also mean fewer passes cutting close around the same patch of skin. That can help with irritation and ingrown hairs.
However, a safety razor still places a sharp edge on your face. A dull blade can drag, while an overly sharp blade combined with poor technique can create cuts. Replace a blade when it starts pulling, skipping, or feeling rough. For me, that usually happens after three to six shaves, though beard thickness and blade quality change the number.
If you get persistent razor bumps, do not scrub aggressively. Rinse with cool water, use a simple fragrance-free moisturizer, and give the area time to settle. Ingredients such as salicylic acid can help some people with clogged pores, but adding a strong treatment immediately after shaving can sting. I am just a guy testing products at my own bathroom sink, not a dermatologist, so ongoing skin problems deserve professional advice.
The money question: does it save anything?
The upfront cost is higher than buying a disposable handle. A good safety razor can cost $25 to $70, while blades commonly cost only a few cents each when purchased in modest packs. Cartridge systems often cost several dollars per replacement, depending on the brand and subscription plan.
That does not mean every safety razor user saves a fortune. If you buy premium soaps, brushes, bowls, stands, and five different handles, the hobby can become more expensive than cartridges. The savings appear when you keep the routine simple: one durable handle, inexpensive blades, and one product that provides enough slip.
My current setup takes less than five minutes and produces less bathroom plastic than my old cartridge routine. The handle is also not heading into the trash every few weeks. That practical difference matters more to me than pretending shaving is a relaxing ritual.
Should you buy a safety razor?
Buy a safety razor if you want cheaper replacement blades, prefer a durable metal tool, or are willing to spend a week learning light pressure and short strokes. Start with a closed-comb model, a small blade sampler, and an ordinary shave cream. Give yourself at least five shaves before judging it.
Skip it if you rush through shaving, press hard without thinking, or expect the first attempt to be effortless. A cartridge is faster for many people, and there is no prize for making a basic chore harder. Still, for my face and budget, a safety razor earned its place beside the sink. It is simple equipment, not a lifestyle. That is exactly why I keep using it.





No notes yet — write the first one.